| How to Get QODBC to go with 64-bit Applications How to Configure QODBC to Work With 64-bit ApplicationsInstructions64 and 32-bit words are kept separate in the Microsoft Windows Operating System. QuickBooks 2022 and above are 64-Bit applications and include both a 32-Bit and a 64-Bit QuickBooks SDK interface. QODBC 2023 now includes a 64-Bit driver and the 32-bit driver, so you can use 64-bit or 32-bit applications to connect to QuickBooks Data directly. QRemote is no longer required to connect 64-bit applications with our 32-bit driver and is now used mainly for remote connection situations. Service-based applications such as Web Server, SQL Server, or Windows Services still need to use the QRemote Driver because QuickBooks cannot be run as a service.
QODBC Desktop installer includes the QODBC desktop driver 32-bit and 64-bit. The installer also includes QRemote Driver 32-bit and 64-bit. QRemote Server 32-Bit. QRemote Server can accept connections from QRemote Driver 32-bit and 64-bit. QRemote Server is designed to convert a 64-bit connection to a 32-bit connection.
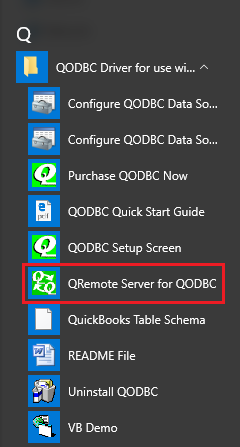
For QuickBooks 2021 and older or service-based applications or remote connection: QuickBooks 2021 and older versions are 32-bit applications, so a 32-bit ODBC driver is required to communicate with it. Since a 64-bit application cannot talk to a 32-bit driver, we have to do a bit of magic to get the worlds to connect. We call it QRemote. QRemote works as a bridge between 64-bit Applications and the 32-bit QODBC Driver by communicating data calls between the two worlds using TCP/IP protocol. QRemote allows 64-bit Web Servers and 64-bit applications to talk to QuickBooks live for the first time via the QODBC Driver. QRemote has two components "QRemote Client Driver for QODBC" and "QRemote Server for QODBC." QRemote Client Driver: Allows service-based applications and 64-bita pplications to connect to the QRemote Server and send the request to the QRemote Server for processing. QRemote Server: Processes requested instruction from QRemote Client to QuickBooks using QODBC DSN Driver. Setting Up a New QRemote Connection.Start QRemote Server for QODBC from the start menu.
Double-click the QRemote Server icon from the system tray.
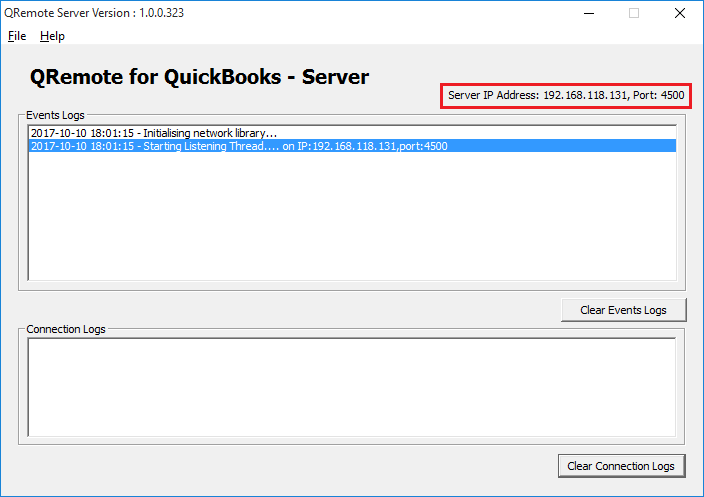
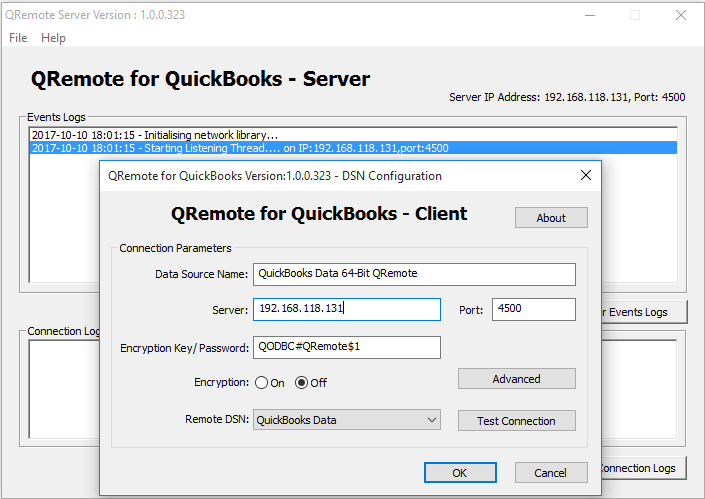
QRemote Server Main screen shows the IP address and Port allowing the QRemote Client to connect.
Note the IP address and Port number listed on the QRemote Server Event Logs window. Create a new DSN entry o Before creating A DSN entry, verify you have created a DSN entry for QODBC, which can connect to QuickBooks. Create a new DSN entry/or configure the existing oneNavigate to Start Menu, QODBC Drivers for Use with QuickBooks, and click Configure QODBC Data Source 64-bit
"QuickBooks Data 64-bit QRemote" is the default DSN created when installing QODBC. (Earlier, it was
o Navigate to System DSN. Click on Add Button
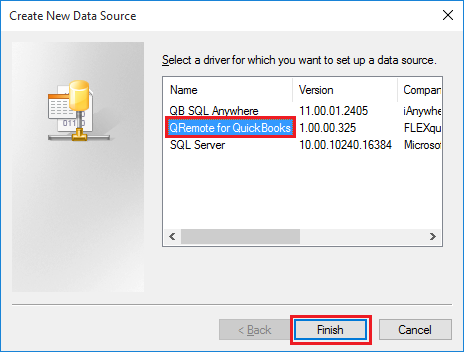
o From the driver, list select QRemote for QuickBooks and click Finish
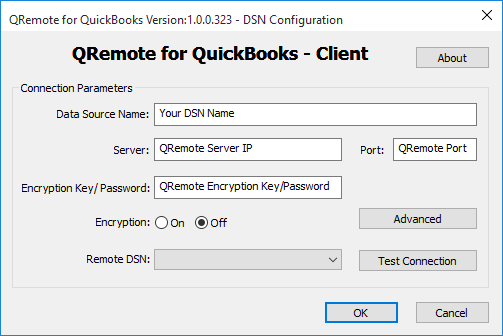
Under the QRemote for QuickBooks Client DSN configuration screen, Please fill in the following information · Server: IP Address displayed on QRemote Server · Port: Port displayed on QRemote Server · Encryption Key/Password: (By Default, Encryption Key/Password is set to "QODBC#QRemote$1". In case you want to change your Encryption Key/Password, You can configure your encryption key on QRemoteServer and use the same on QRemote Client DSN) · Encryption: (By Default, Encryption is set to Off. In case you want to use encrypted data transfer between QRemote client and QRemoteServer, You can configure encryption on QRemoteServer and use the same on QRemote Client DSN) · Remote DSN: select QuickBooks Data DSN from the list. (Make sure QRemote Server is running)
In this example, we will be using existing (Default) DSN: QuickBooks Data 64-bit QRemote Earlier (QRemote Data 64-bit) Verify the QRemote Client connects to the server and that the below-listed logs are logged in the event window.
Note: If you are using "QODBC POS," then. Please refer to the below steps Please use "QuickBooks POS Data 64-bit" DSN or use the connection string DSN=QuickBooks POS Data 64-bit; OLE DB Services=-2; Please click on "Test Connection." It will start establishing a connection to QuickBooks. Please accept the certificate for allowing data access on QuickBooks. Now please click on "Run" It should display a table list. Now please test the connection on the linked server by right click on the linked server name. Please click on "Test Connection." You will receive a Test Connection success message.
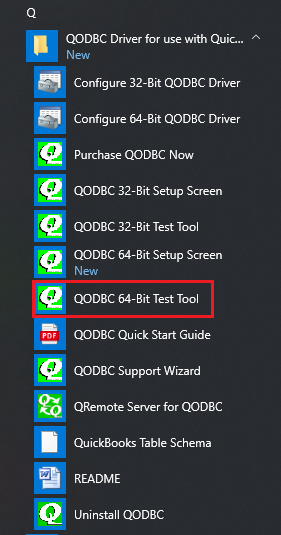
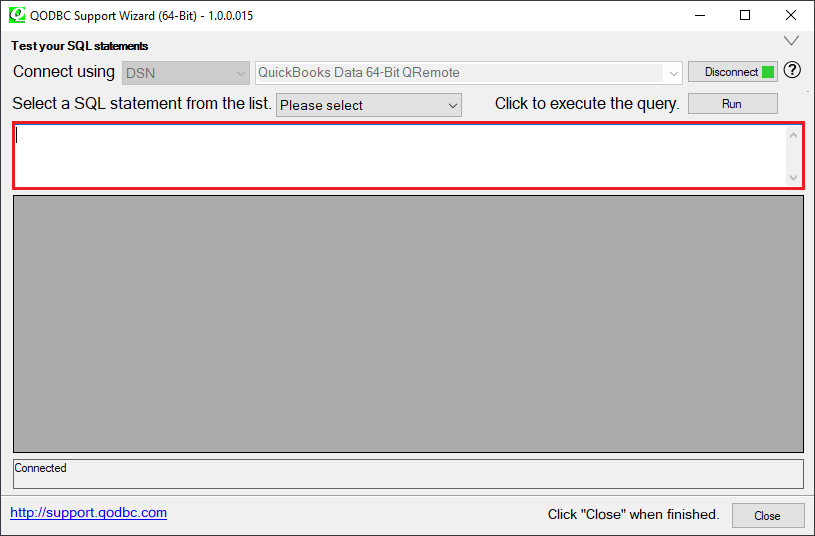
Start the "QODBC 64-Bit Test tool" application from the start menu.
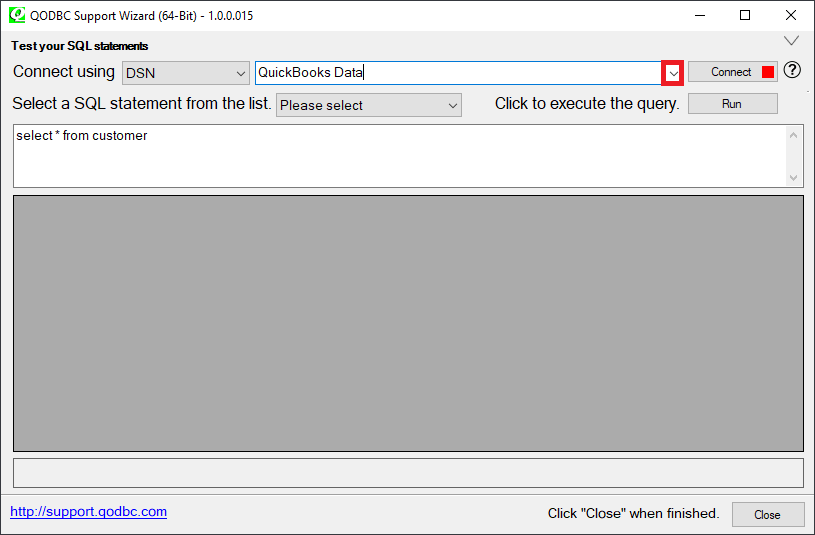
Click on the "Drop-down Menu"
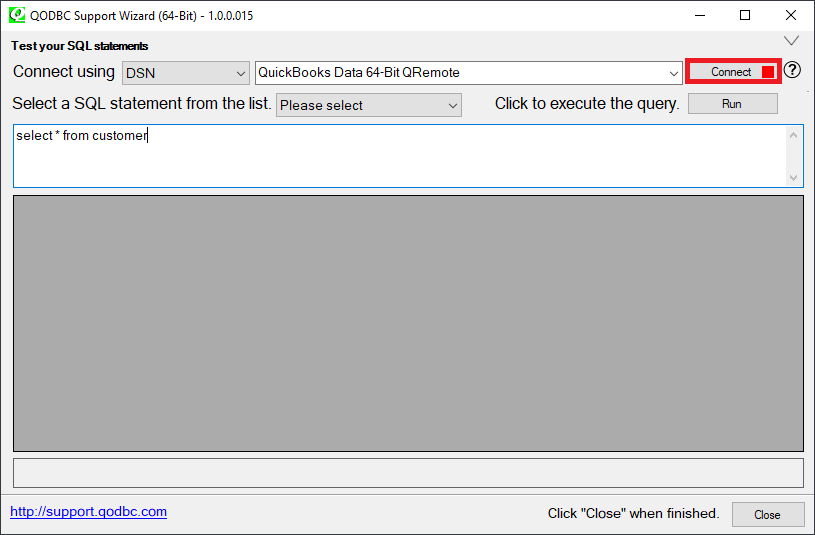
Select DSN For example: "QuickBooks Data 64-Bit QRemote
Click on the "Connect" button
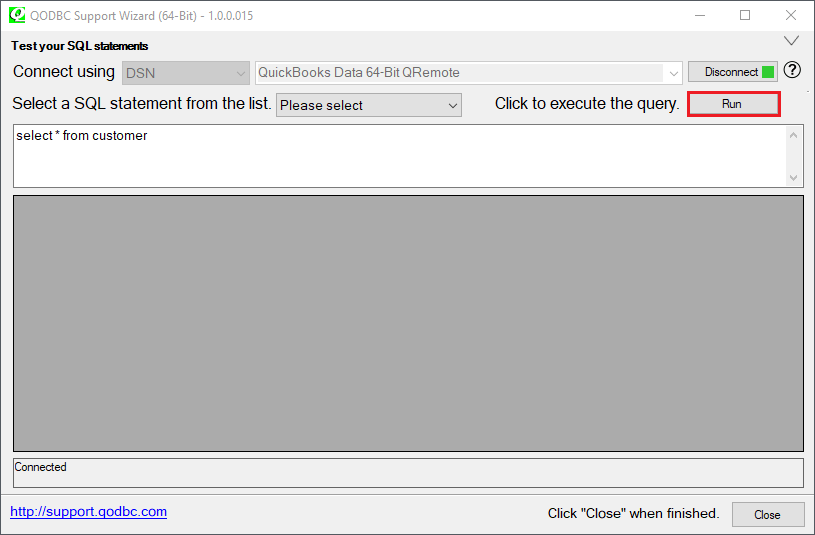
Write down the query in the marked field. Please refer to the image below.
For example: Select * from Customer Click on the "Run" button.
| |